Cookies help us deliver our services. By using our services, you agree to our use of cookies.
Wink & Sleepy Eye Mod Installation
The following pictures should assist with installing the Wink & Sleepy Eye Mod
-
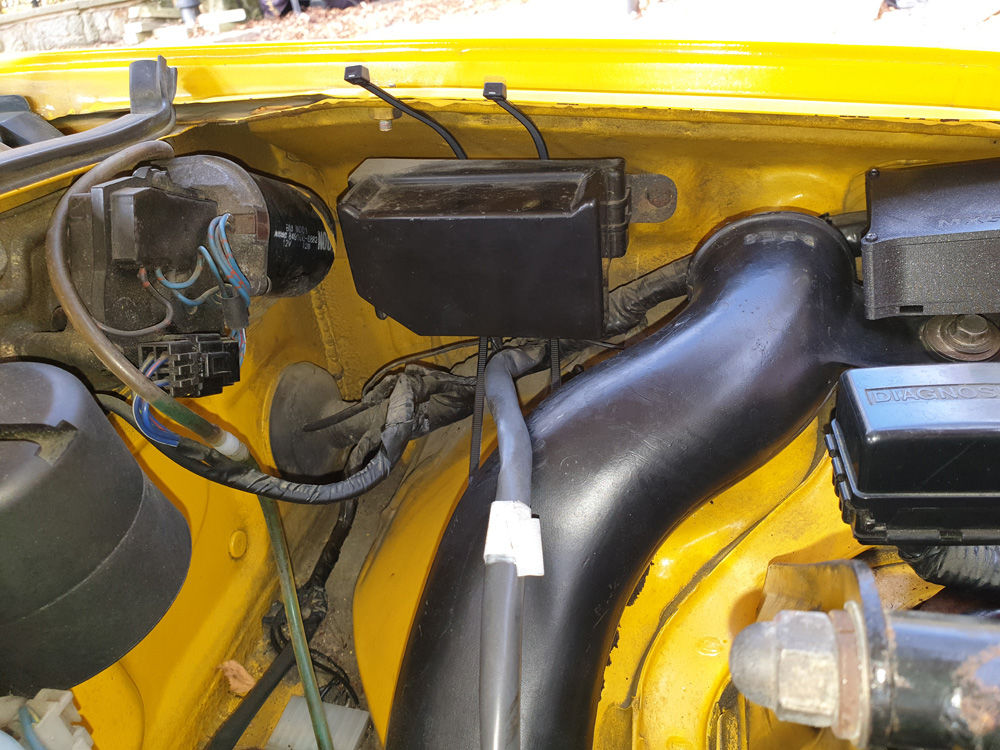
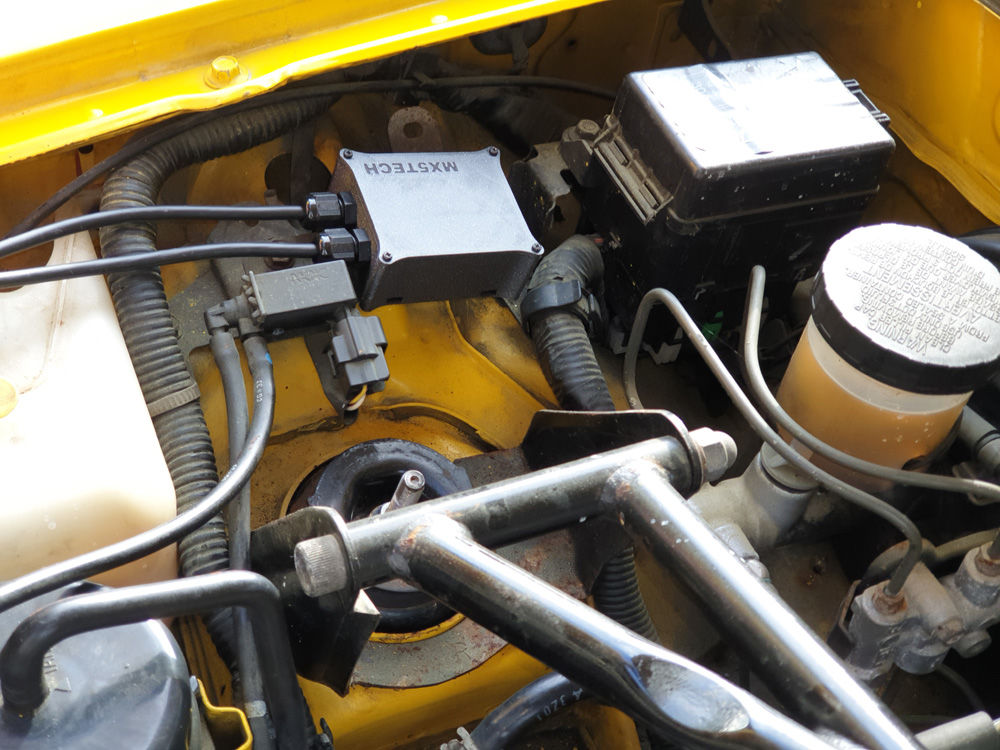
If installing the control box on top of the relay enclosure, slide the two large cable ties behind the relay enclosure as shown.
-
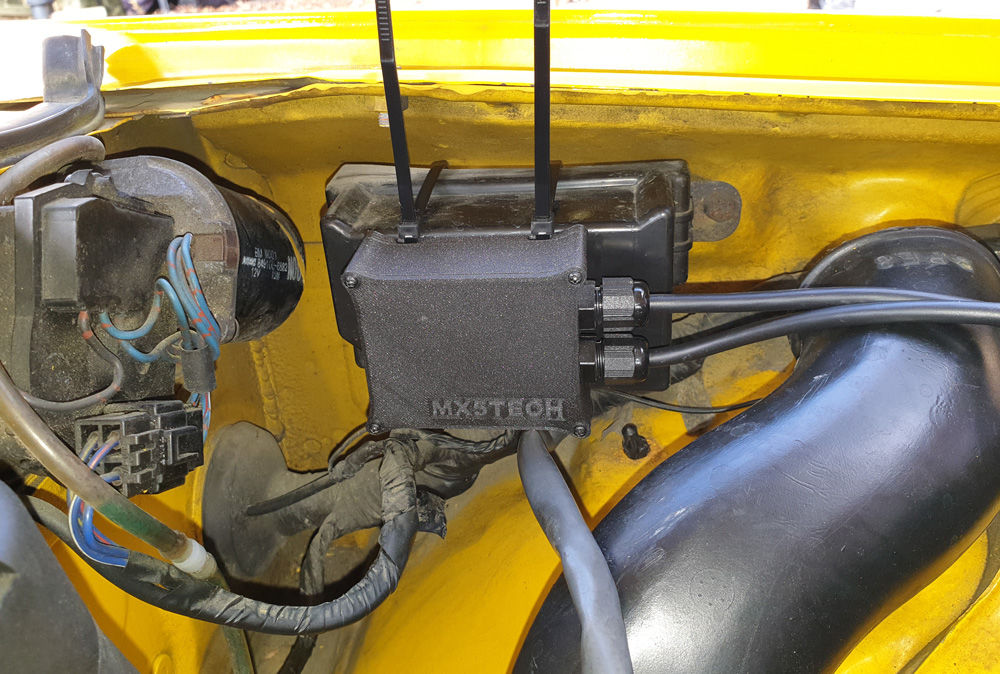
Pass the cable ties through the slots in the base of the control box and tighten.
-
Snip the loose ends of the cable ties to give a neat finish.
-
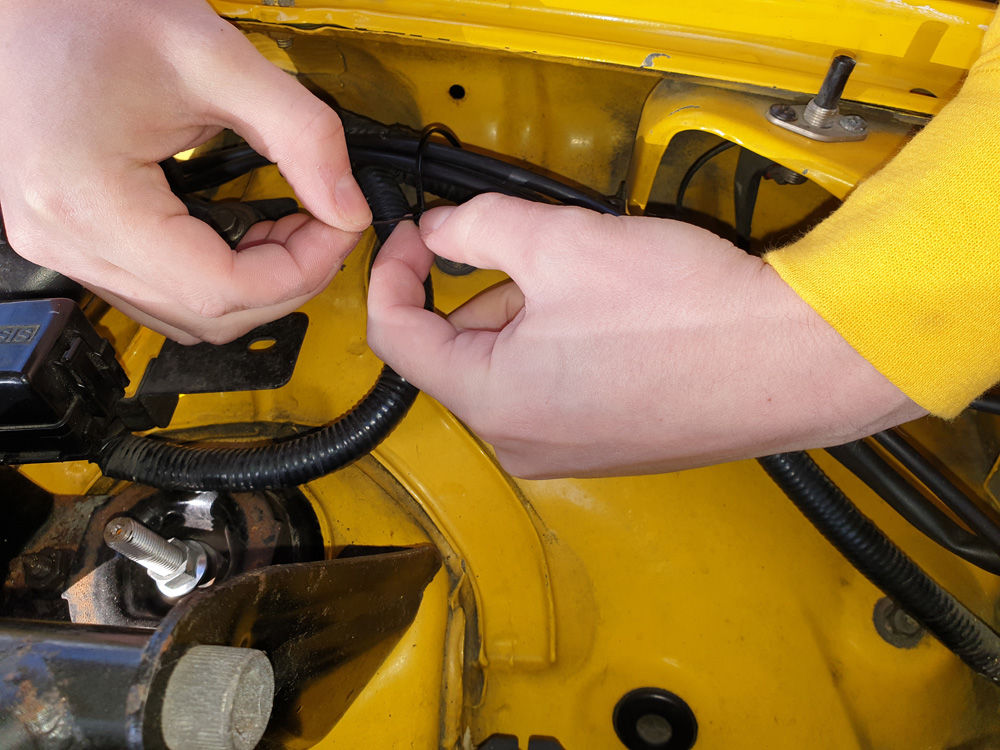
Route the cables towards the headlamp motors.
-
Use the supplied cable ties to fix the cables in place.
-
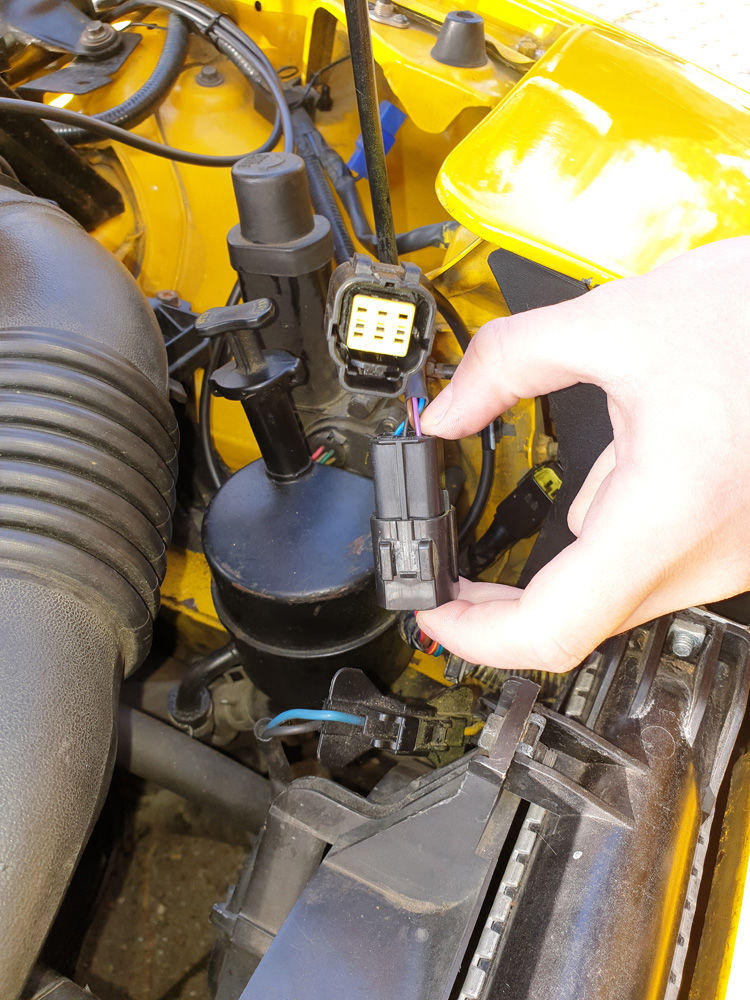
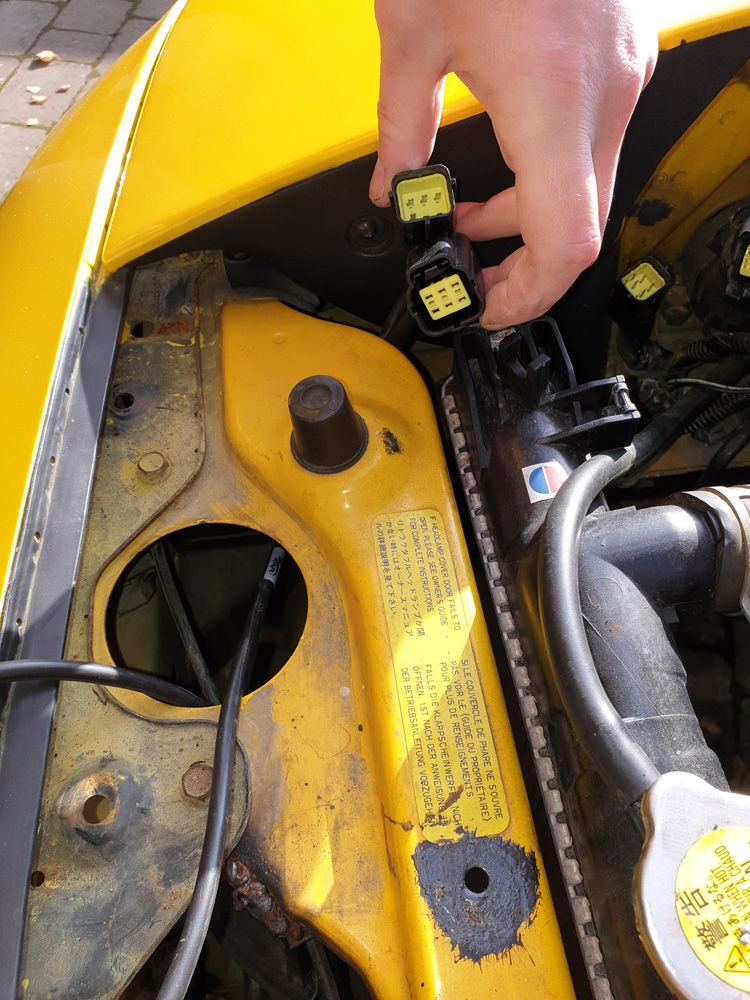
Disconnect the existing headlamp connector and plug each half into the shorter control cable.
-
Cable tie the two sets of connectors together to prevent movement.
-
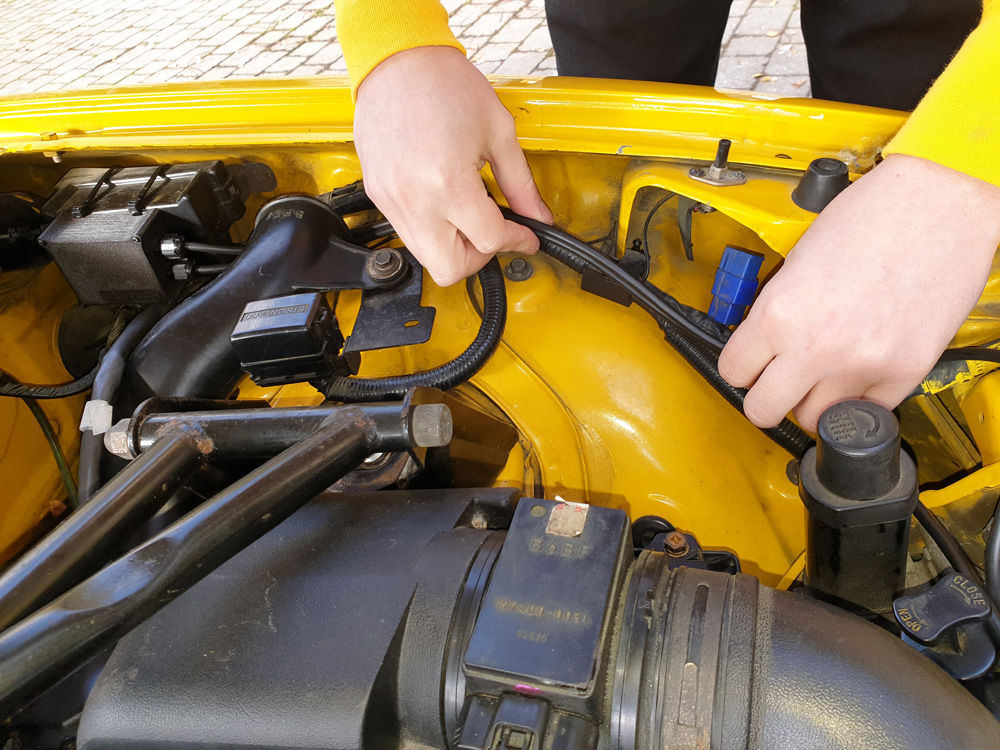
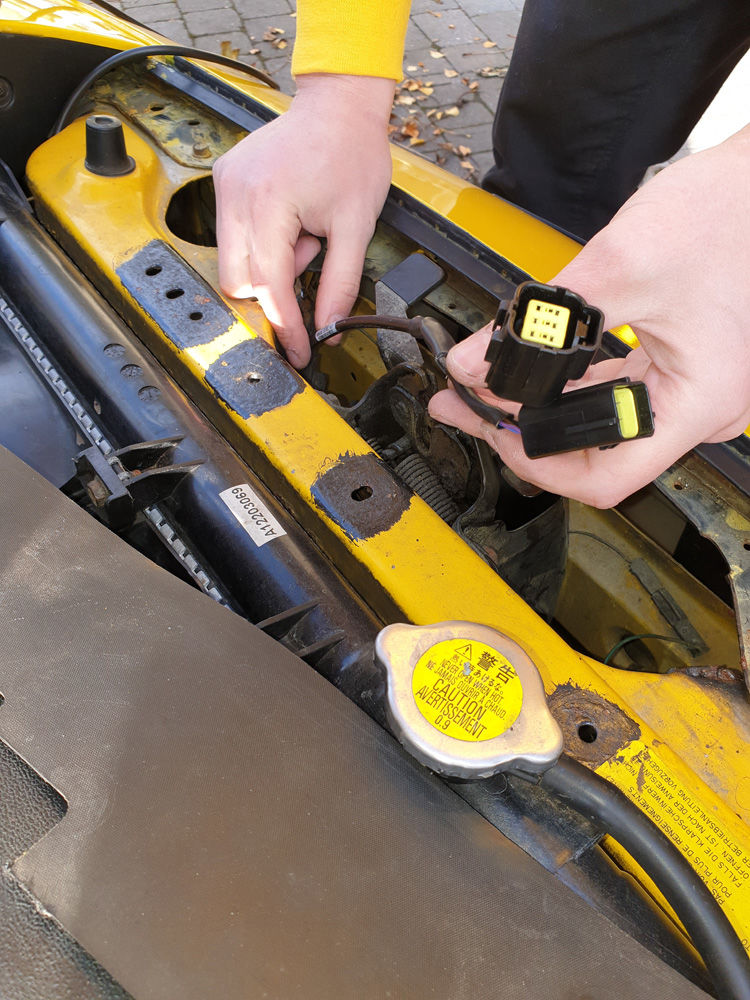
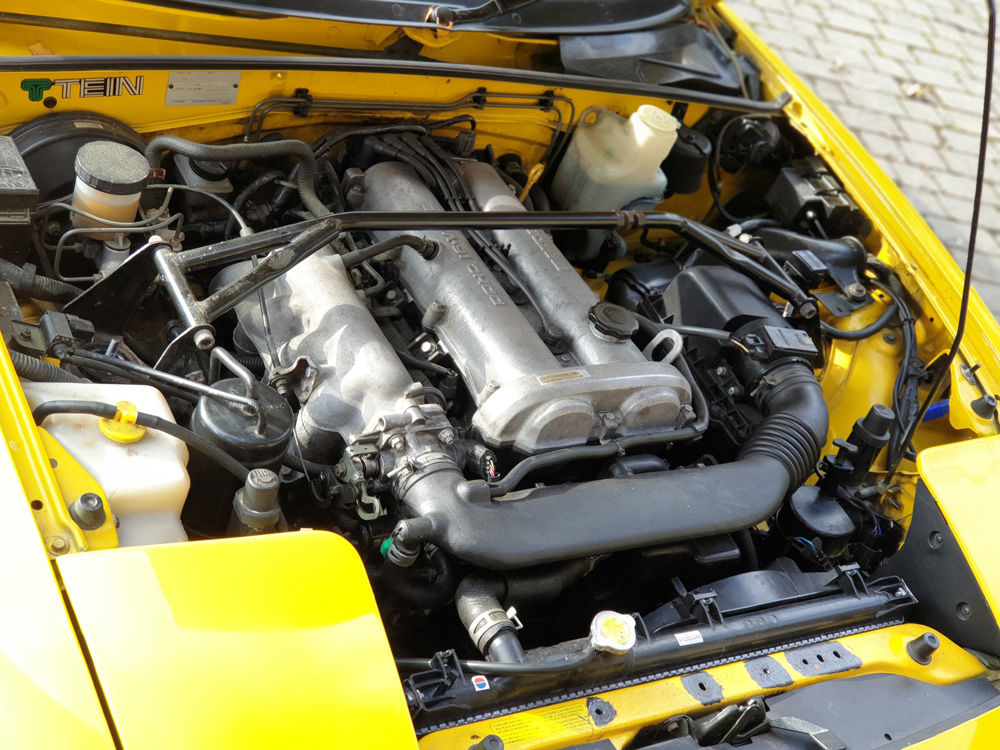
Route the longer cable across the car to the other headlamp motor connector avoiding moving parts and any engine components which may get hot.
-
Taking care to avoid damaging the connectors as you route the cable.
-
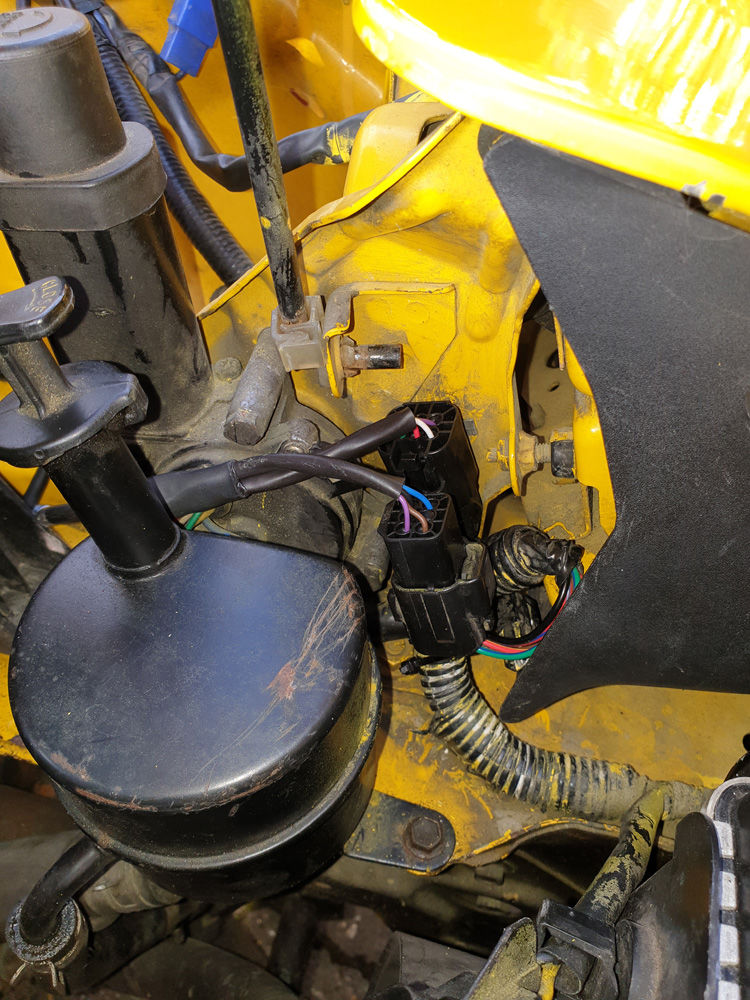
Unplug the other headlamp motor connector and plug each half into the longer control cable. Fix all cables and connectors into place with cable ties.

-
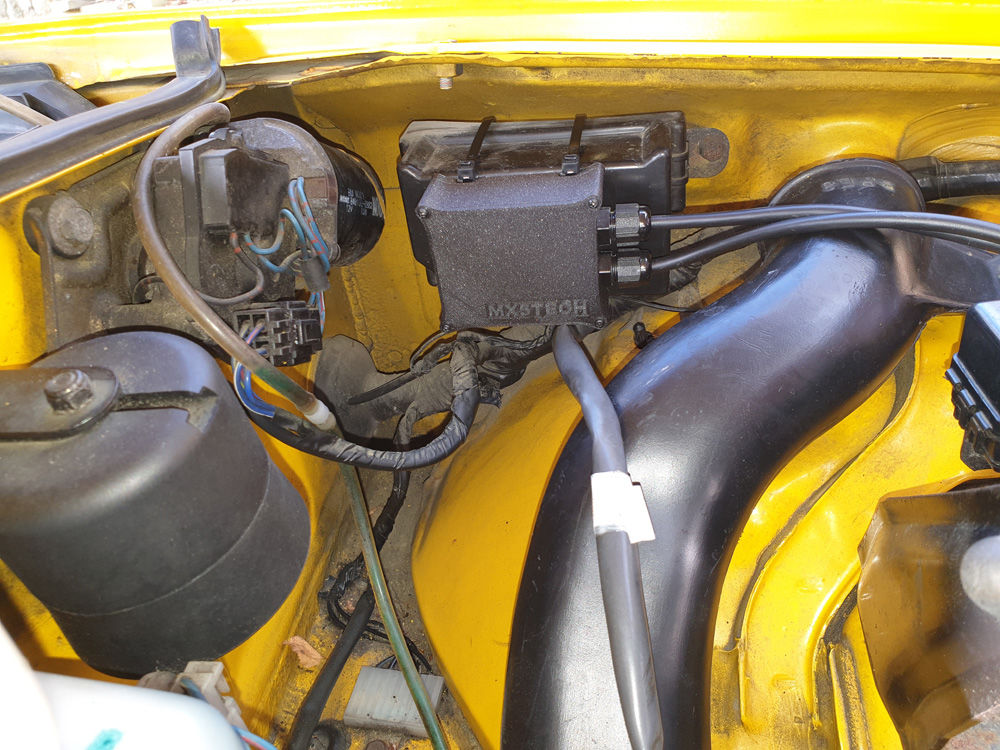
The final result should with cables neatly routed out of sight.
-
If preferred, the control box can also be mounted on the other side of the engine compartment or anywhere dry where the cables can reach the headlamp motor connectors..

MX5 Tech